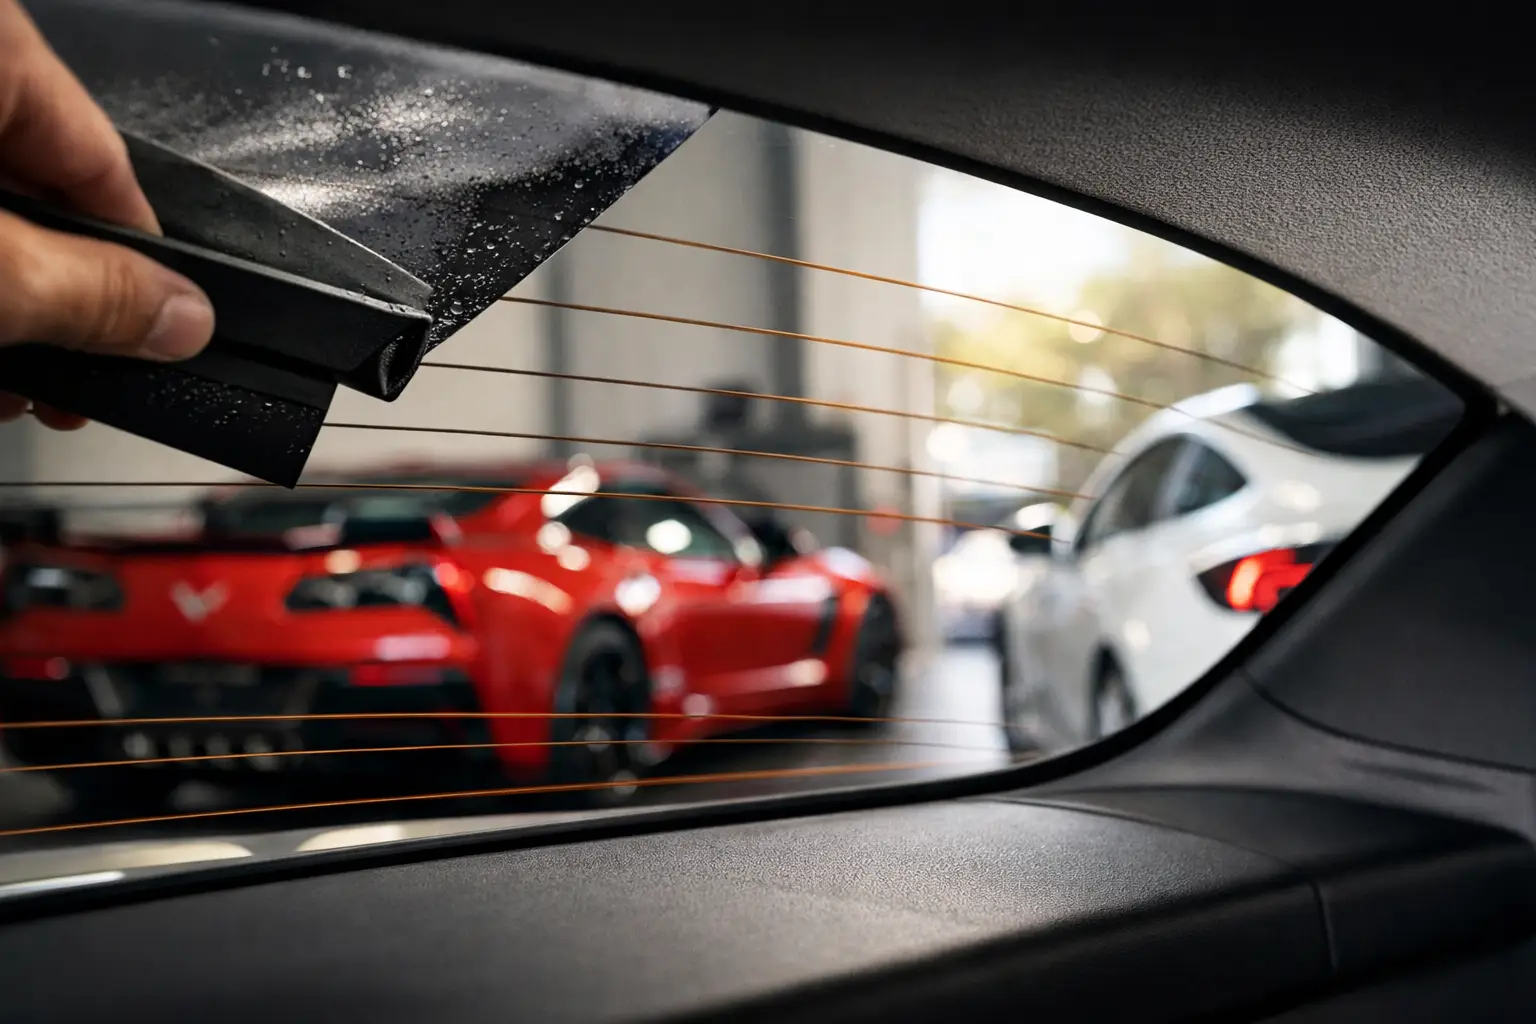
A rear defroster is easy to take for granted until a cold morning or rainy Oklahoma commute leaves the back glass fogged over. So, can tint damage defrosters? It can, but damage is not an expected result of quality window tinting. The real risk usually comes from poor installation practices, aggressive removal, or existing wear in the delicate electrical grid.
Rear window tint is applied to the interior side of the glass – the same side as the thin horizontal defroster lines. That proximity is why the work requires precision. When the correct film, preparation methods, and installation techniques are used, tint can provide heat and glare reduction without interfering with the defroster’s function.
Can Tint Damage Defrosters During Installation?
A properly installed rear window tint should not damage a working defroster grid. Professional installers understand that the grid is not simply printed decoration. Each horizontal line carries electrical current, and the vertical connections at the sides of the glass complete the circuit. Breaking or lifting even a small section can leave part of the window unable to clear.
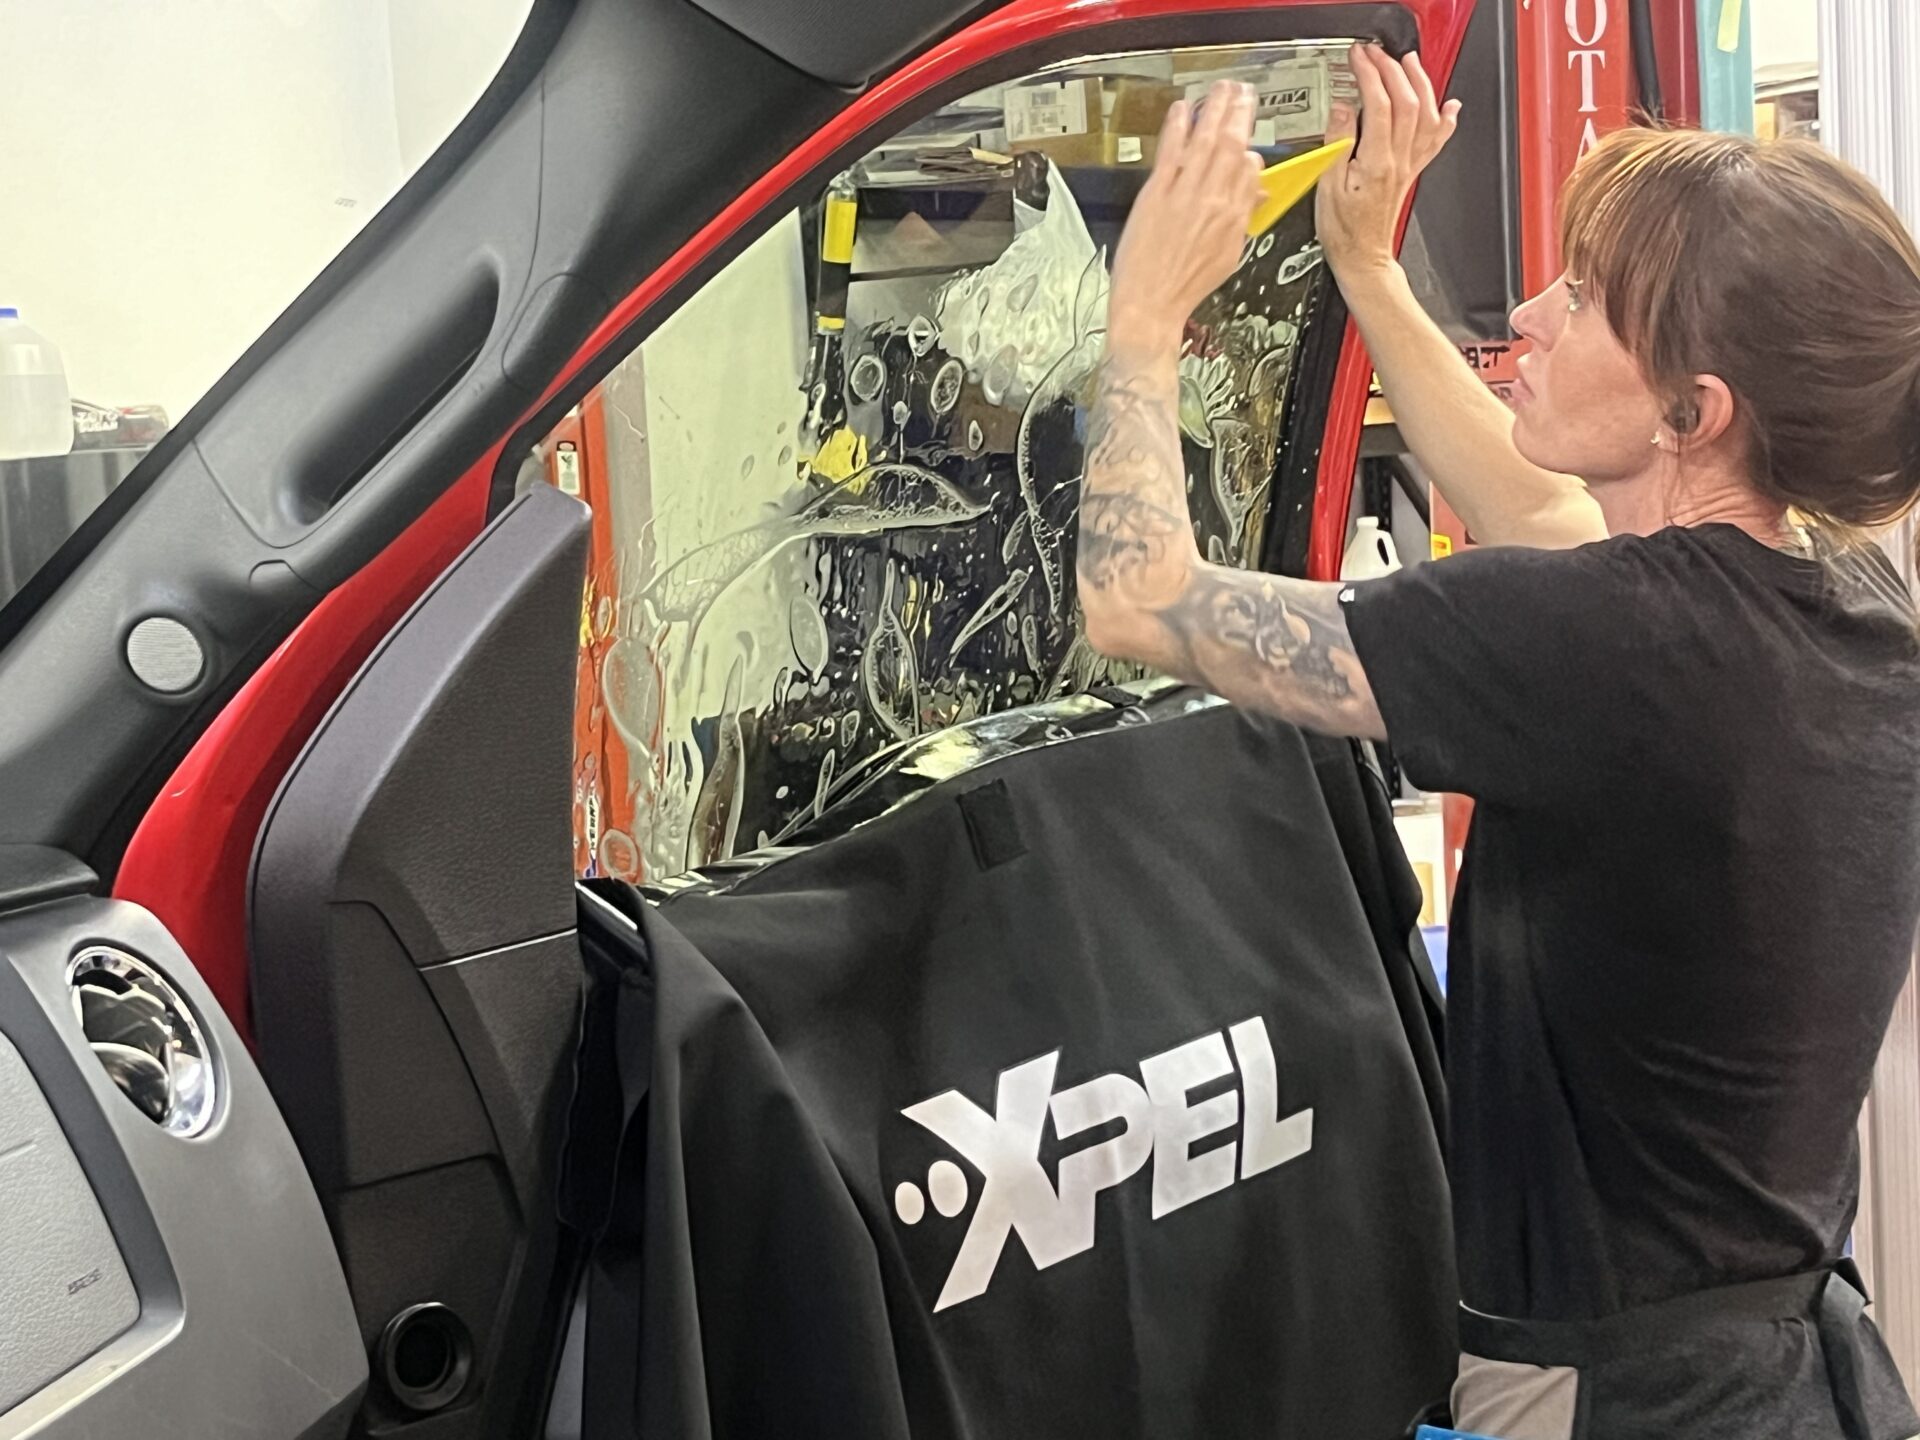
The installation process does involve moisture, slip solution, squeegee pressure, and heat shaping. None of those steps should harm healthy factory defroster lines when performed correctly. Premium automotive window film is designed to adhere to the glass around the grid, while experienced technicians use controlled pressure to set the adhesive without scraping or catching the lines.
The greater concern is careless technique. Using a sharp blade on the interior rear glass, applying excessive pressure with the wrong tool, or handling a compromised grid roughly can create a problem. Rear glass also has curves that must be heat-shrunk carefully before installation. An installer who understands film behavior can shape the tint cleanly without overheating the glass or treating the defroster like an afterthought.
There is also a practical difference between a vehicle with a smooth rear window and one with an older, heavily textured, or previously repaired defroster grid. If the lines are already peeling, corroded, or partially inoperative, tinting will not repair them. A careful shop should identify that condition before work begins rather than promising a result the glass cannot support.
Why Defroster Damage Usually Happens During Tint Removal
Tint removal is where rear defrosters face their highest risk. Old film can become brittle after years of UV exposure and heat. Its adhesive can bond stubbornly to the glass and around the defroster lines. Pulling that film off dry, quickly, or at the wrong angle may lift sections of the grid with it.
This is especially common with low-quality film that has deteriorated, turned purple, bubbled, or developed a sticky adhesive layer. The temptation is to peel it off and scrape away the residue. That approach can permanently damage the grid. Metal razor blades, abrasive pads, and aggressive chemical use do not belong on a rear window with exposed defroster elements.
Professional removal is slower because it is designed to preserve the glass and electrical connections. Controlled heat or steam softens the adhesive so the film can release more evenly. Technicians work in manageable sections, monitor how the film is separating, and use methods appropriate for the condition of the tint and the vehicle.
Even with careful removal, there is no honest way to guarantee a severely aged grid will survive if it has already begun separating from the glass. That is why an upfront inspection matters. A reputable installer will explain the condition of the rear glass and discuss the realistic risk before removing old tint.
The Adhesive Is Often the Hard Part
Many drivers assume the film itself is the problem. In reality, leftover adhesive is frequently what creates trouble. Adhesive residue may sit between defroster lines, collect dust, and make the glass look hazy. Trying to force it off with a blade can cut through the conductive material.
The safer process uses compatible adhesive-removal products, patience, and non-damaging tools. It may take longer, but the goal is not just clean glass. It is clean glass with the defroster grid still intact and ready for new film.
What About the Defroster’s Heat?
A functioning defroster produces localized heat across the rear glass. Quality automotive window film is made to handle normal rear defroster operation, so using the defroster after a professional tint installation should not cause the film to fail.
That said, the film needs time to cure. During the first several days after tinting, moisture under the film may create a light haze or small water pockets. This is a normal part of the curing process, particularly during cooler weather. The defroster should generally be left off for the period recommended by the installer, often a few days, to allow the adhesive to settle properly.
After that curing window, use the rear defroster as intended. It will not melt quality tint or cause bubbles simply because it is on. If bubbling, lifting, or discoloration appears later, the cause may be poor film quality, a previous installation issue, or aging adhesive rather than the defroster itself.
Signs Your Rear Defroster Needs Attention
Before tinting a rear window, it is wise to confirm that the defroster works. Turn it on and look for clear, evenly spaced paths developing through fog or frost. If one band remains cloudy while the surrounding lines clear, that portion of the grid may be broken.
Other signs of concern include visibly scratched lines, peeling conductive strips, loose side connections, or an indicator light that comes on while the glass shows no warming effect. Some vehicles also have radio antennas integrated into the rear glass. Those lines and connections deserve the same care during tint installation and removal.
A damaged grid can sometimes be repaired with a conductive repair kit, depending on the location and extent of the break. However, these repairs may remain visible and may not restore the appearance of a clean factory grid. For newer, luxury, or high-value vehicles, it is usually better to protect the original rear glass from avoidable damage in the first place.
How to Protect Defrosters When Choosing Window Tint
The best protection starts before the film goes on. Choose an installer who treats rear-glass work as a specialized part of the job, not a quick add-on. Ask whether the shop will inspect the defroster before installation, how it handles old tint removal, and what cure-time instructions it recommends afterward.
Film quality matters, too. Premium ceramic and high-performance films are engineered for long-term clarity, heat rejection, and color stability. They are less likely to discolor, crack, or create the future removal nightmare often associated with bargain tint. The upfront investment can protect both the appearance of the vehicle and the condition of the glass beneath it.
Once the tint is installed, avoid cleaning the rear glass with abrasive pads or sharp tools. Use a soft microfiber towel and an ammonia-free automotive glass cleaner. Do not pick at a tint edge or attempt to remove a bubble yourself. A small issue is far easier to evaluate and correct before it becomes a damaged defroster line.
Precision Makes the Difference
Window tint should improve the daily driving experience with cooler cabin temperatures, reduced glare, added privacy, and a refined finish. It should not leave you worried about losing rear visibility when the weather turns cold or wet.
For drivers in Edmond and the Oklahoma City area, the smart approach is to have rear-window tint installed or removed by technicians who understand the details behind the glass. Superior Concepts approaches every vehicle with that level of care, because preserving the systems already built into your vehicle is part of delivering a finish that lasts.